
Mold Assassin – The Ultimate VHS Mold Cleaning Machine
So I have the bad habit of starting new hobbies and entering into the world of VHS capturing/digitizing is no exception. After months of research, I started investing in rare vintage equipment to digitize all of our family VHS tapes. Sure, you can do this on the cheap, with inferior capture devices but if you want the absolute best quality captures; it’s not cheap and not quick.
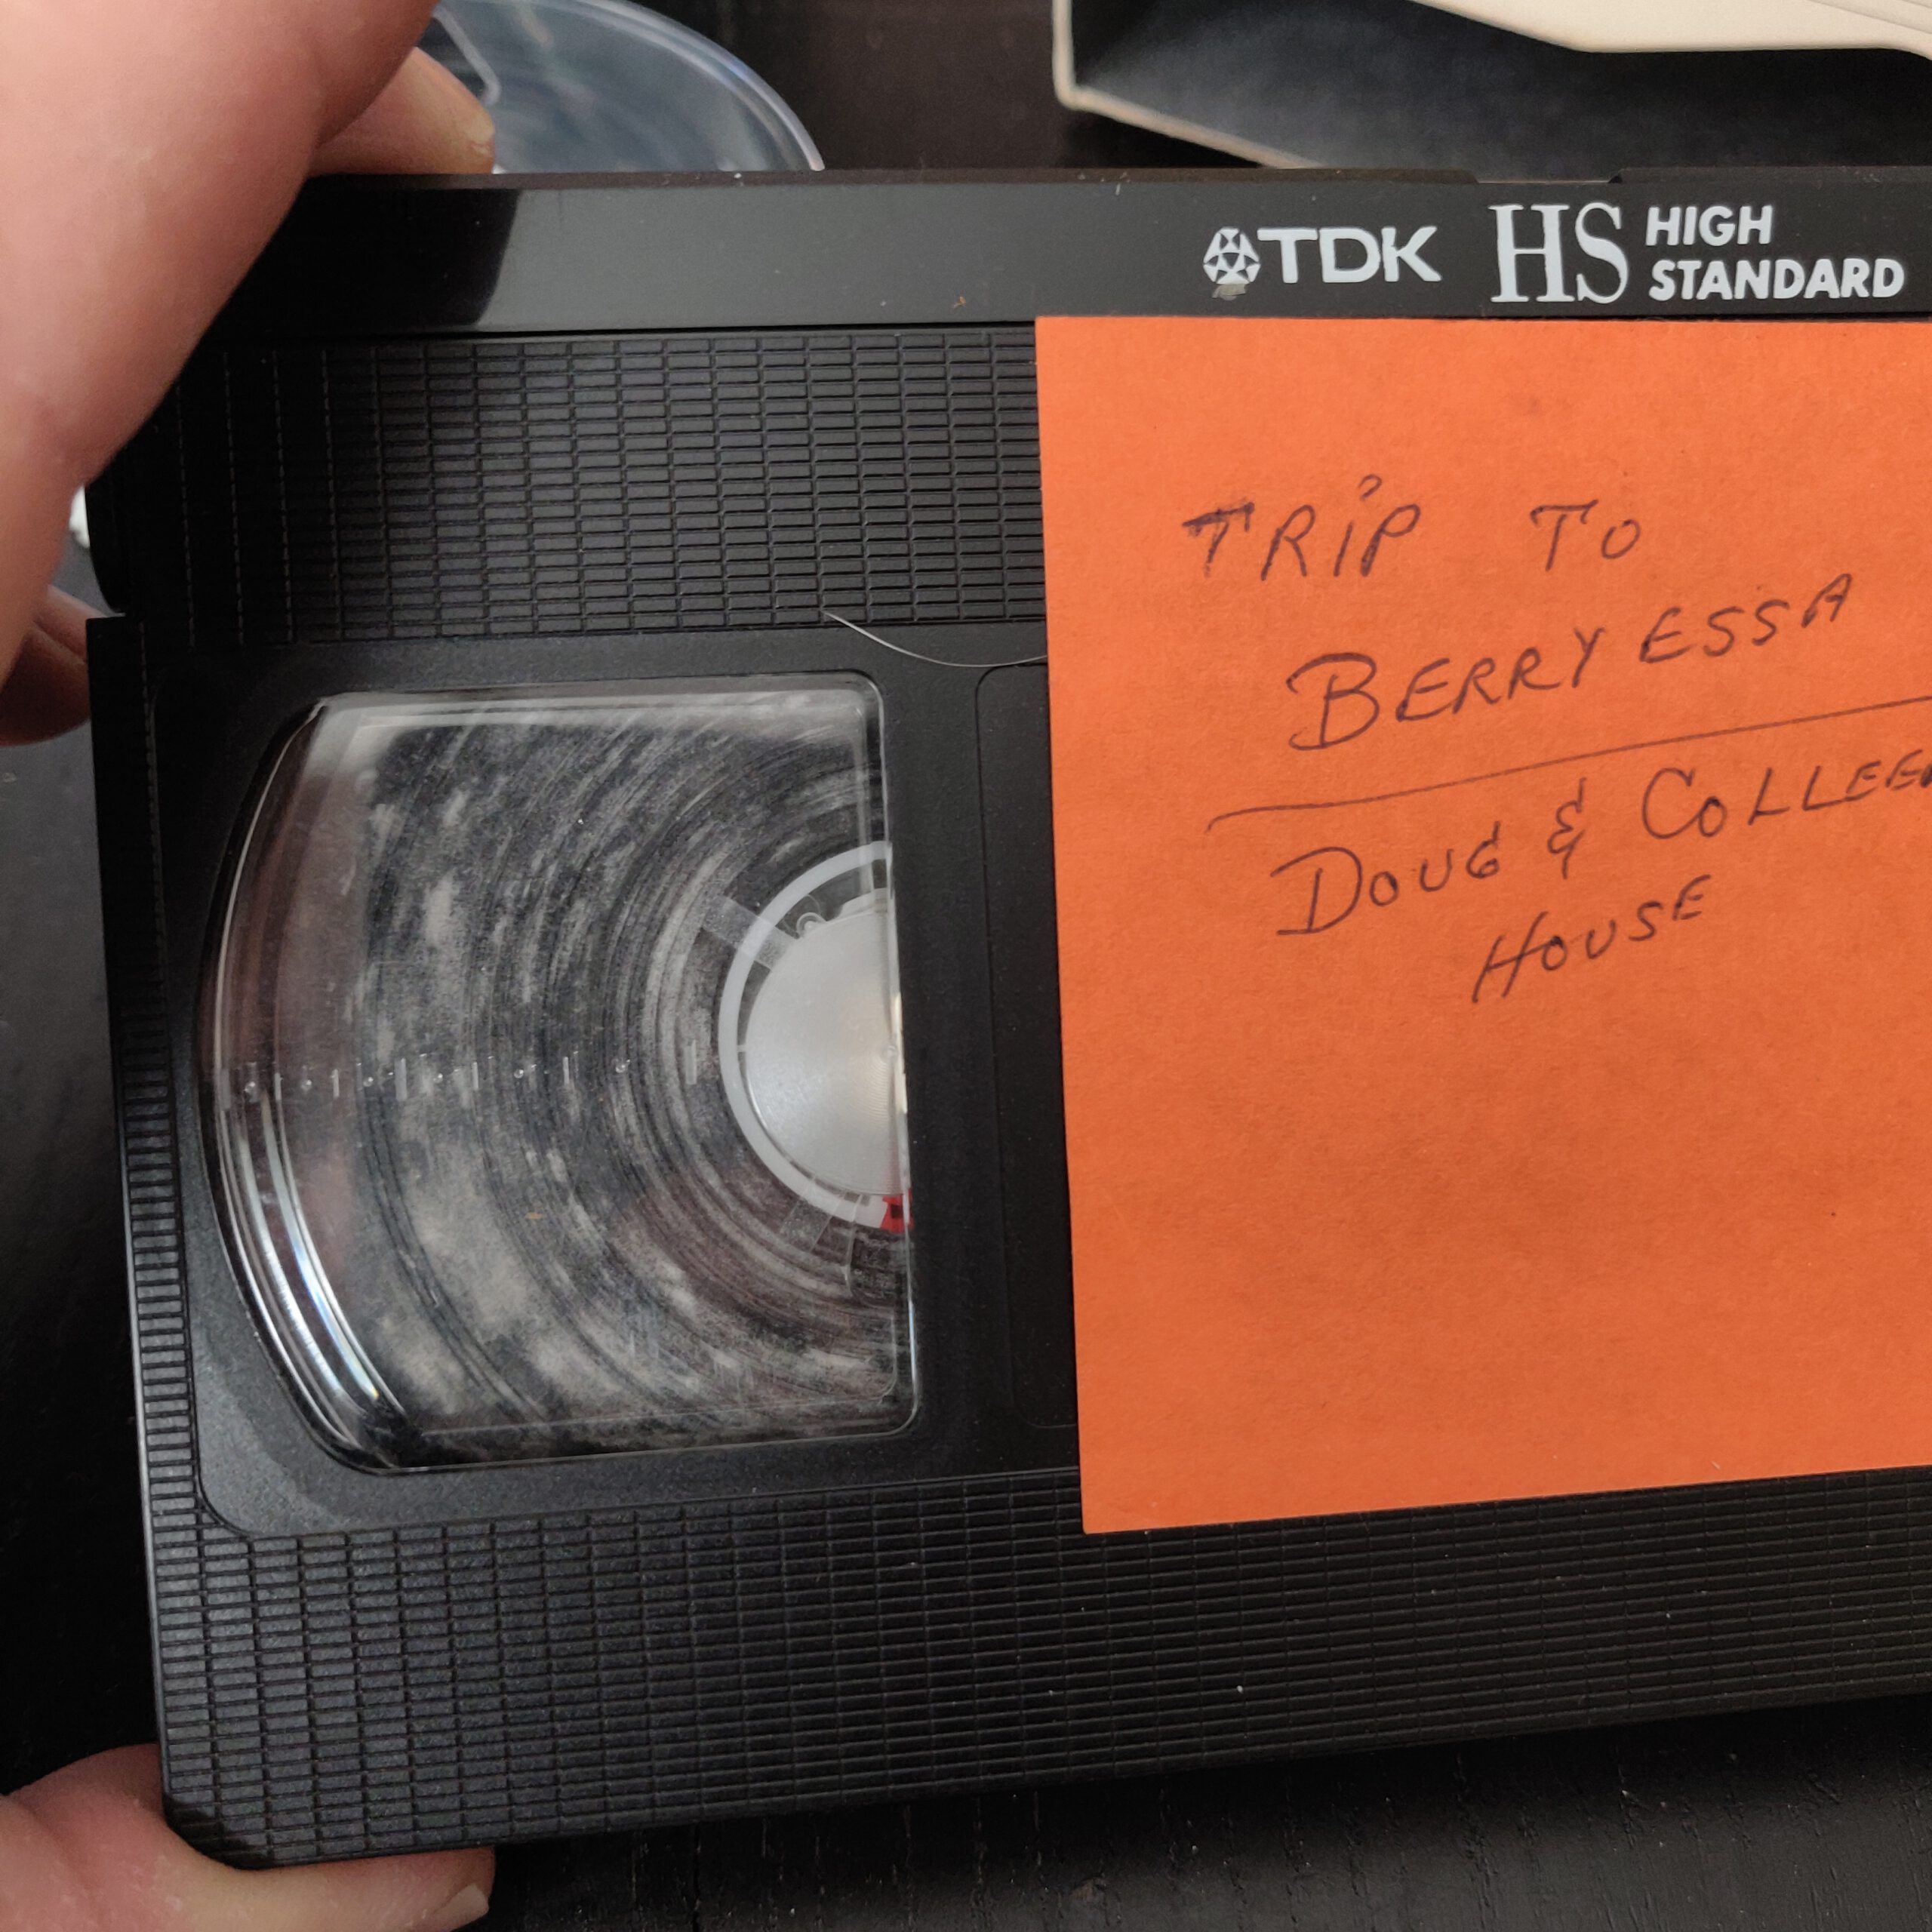
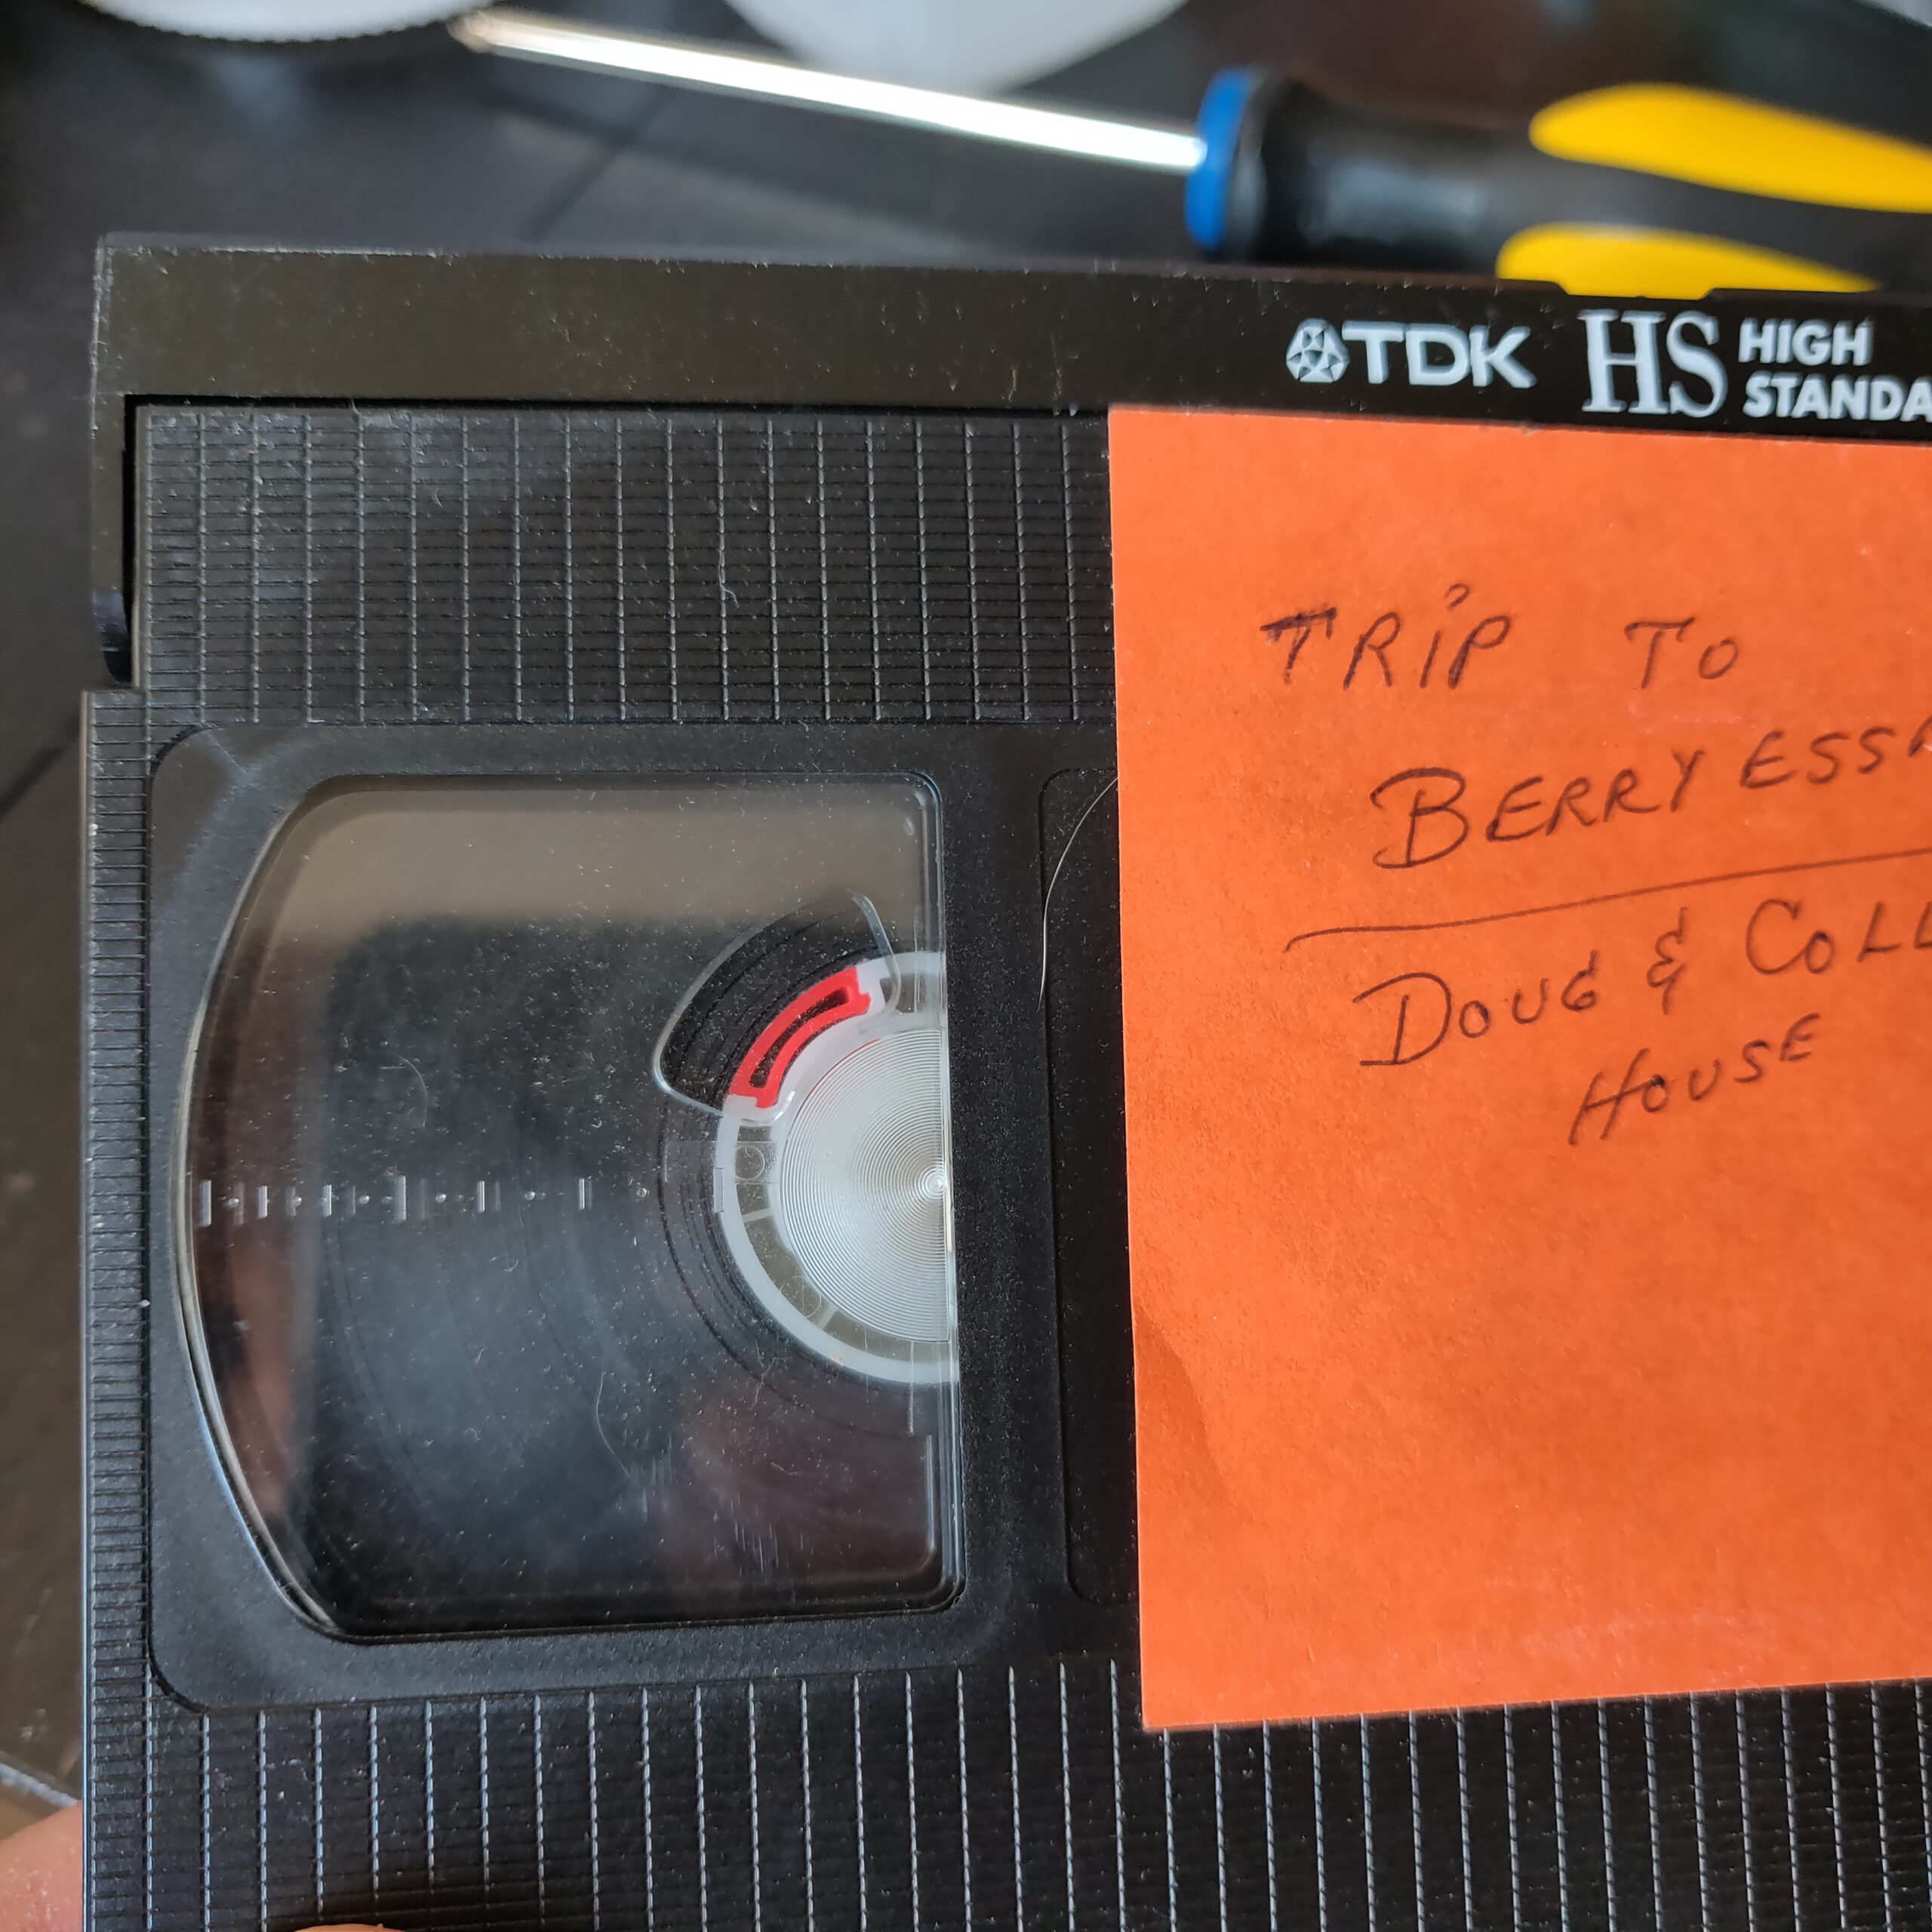
Let me go back a few steps. One day I was visiting my parents and noticed a box of VHS tapes sitting in their barn. This is the South (Tennessee) so it gets very hot and very cold; sometimes in the same day. It is also very humid, so that paired with heat is an invitation for mold growth. That is exactly what happened to most of the tapes in the box. Initially I didn’t see it as a big deal until my research led to the dangers of mold as well as the damage it will cause to expensive vintage VHS equipment. I had to come up with a solution to clean the mold off of the tapes so they could be captured. I started with some of the DIY options using old VCR’s along with 90+% alcohol and swabs. But for someone who always grabs the bull by the horns when he takes something on, that wasn’t good enough.
The “Mold Assassin” as I like to call it was created after a lot of research and trial an error. It’s constantly evolving as I come up with new methods and ideas but I figured I would share some of what I’ve learned with everyone, just in case you too are faced with cleaning mold off of old tapes and feel like going all in on building a DIY cleaning system similar to mine. I will be offering Mold cleaning and capture services for anyone that is interested. I will include all of my contact information at the bottom of the post.
My research on cleaning mold off of VHS tapes led me in two directions; first, RTI Tapechek systems which are rare and very expensive when you can locate them. Second, DIY options from pictures I found online. I found one system that used a similar Kinyo VHS Rewinder which is what led to the idea of using the chassis of the Rewinder for my project. That particular DIY cleaner had only one cleaning point and was not very advanced at all. I had no choice but to up the ante a bit.
Here is an example of what the system is capable of:
First Phase – Wall Control Pegboard and a Kinyo VHS Rewinder
 So I opted for the Wall Control Pegboard because I thought it would be rigid enough to support my VHS cleaner system and it had a ton of holes and slots already in place for me to utilize for the system components. Unfortunately, the pegboard ended up not being rigid enough to support the evolving system. I ended up adding some metal shelf support brackets on the underside to increase the Pegboards rigidity. That did the trick. (You can see this in the YouTube Video below).
Second Phase – Single Motor and Guide Rollers
To say this VHS cleaner evolved is an understatement; I first experimented with using a single motor and had planned to emulate the single cleaning station I saw on another DIY system. Unfortunately for me, that wasn’t good enough. This was just the beginning.
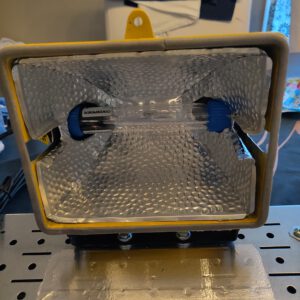
Third Phase – The UVC Chamber
After researching the dangers of mold it became apparent I had to make the system safe to use. I opted to convert an old shop light housing into a Mold killing chamber with the addition of a UVC germicidal bulb. This took a bit to accomplish as I had to cut channels in the aluminum housing of the shop light and strip all of the unneeded components. I then drilled holes in both sides of the housing for the light to slight into and stay securely in place. Full disclosure; I messed up on one of the holes as I was using the wrong kind of drill bit. I ended up using a portion of the shift links boot off of an old Honda Civic I had laying around to fix the poorly drilled hole.
More to come:
Sponsored Product List – Featured in Video
Foam Tip Cleaning Swabs – https://amzn.to/30BsV3M
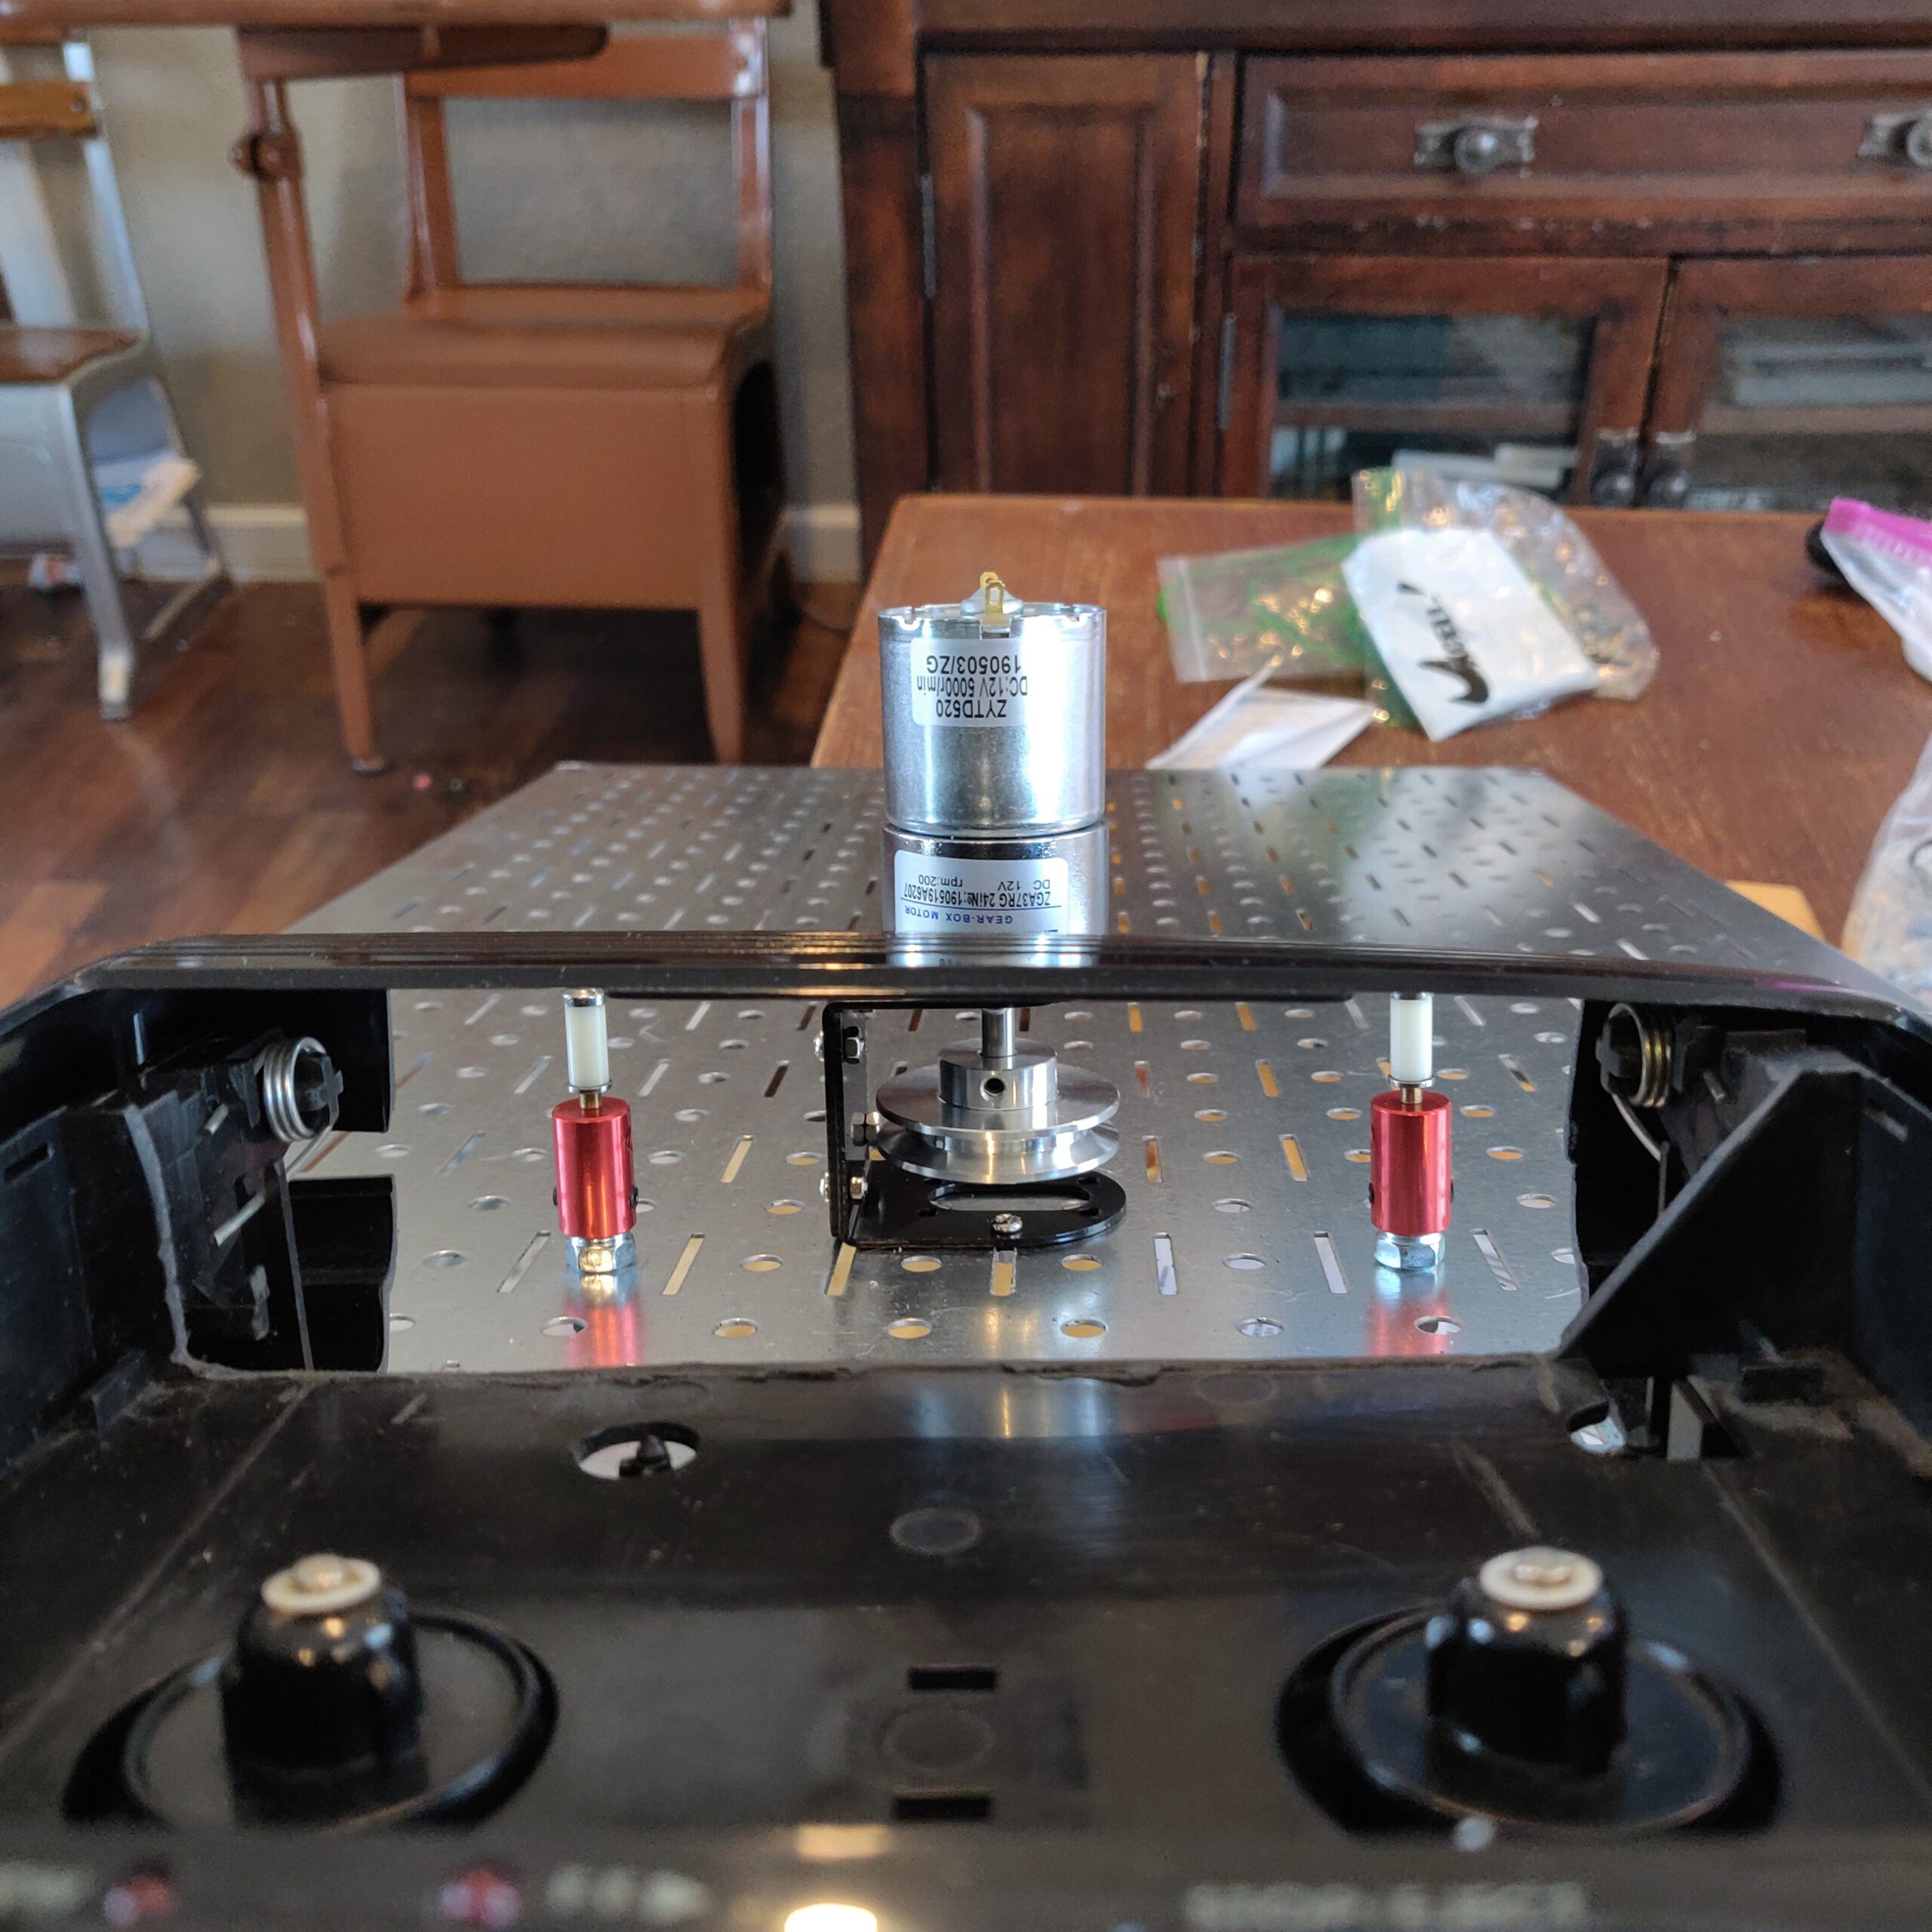
Geartisan DC 12v 200rpm Motor – https://amzn.to/34vbkeC
DC Motor Mounting Bracket (2 used per motor on this setup) – https://amzn.to/3lhFb1e
Photoresistor Relay Module – (2 used in this system – Autostop function) – https://amzn.to/33AnFPM
DC Motor Speed Control – (2 used in this system – 1 for tissue, one for drive motor) – https://amzn.to/3d1BLfQ
Aluminum PU Pulley (41x16x6) (Note: Had to drill hole slightly larger) Used in this setup – https://amzn.to/36xOypi
Momentary Metal Button (Used to start / stop tissue relay) – https://amzn.to/33vBtLk
Shop Vac Accessory Kit (Used downsize adapter for vacuum assist system) – https://amzn.to/2Gkepqc
DC Pigtail Adapter (Used to use a single power supply to power tissue and drive motor) – https://amzn.to/30AUutE
Timer Delay Relay Switch (Used to control tissue refresh system) – https://amzn.to/36B677K (I left a detailed wiring diagram in the Amazon product reviews.)
Pillow Block Flange (Used to create the Tissue roll holders – Placed underneath Peg board and holes in pegboard were drilled out to a larger size) – https://amzn.to/3nlLanq
UVC Wand Light (Note: It looks like the style has changed since I purchased it. Plan accordingly when drilling your hole in the shop light housing) – https://amzn.to/3letCHY


